

Write content with pages
Learn to create and share documentation, meeting notes, and project requirements using Plane's powerful Pages. You'll master the basics of content creation, formatting, and sharing in just a few minutes.
By the end of this tutorial, you'll:
- Create and customize pages in your project
- Use editor blocks to structure content effectively
- Share pages with your team
- Configure page settings for different use cases
Create your first page
Start by creating a new page in your project.
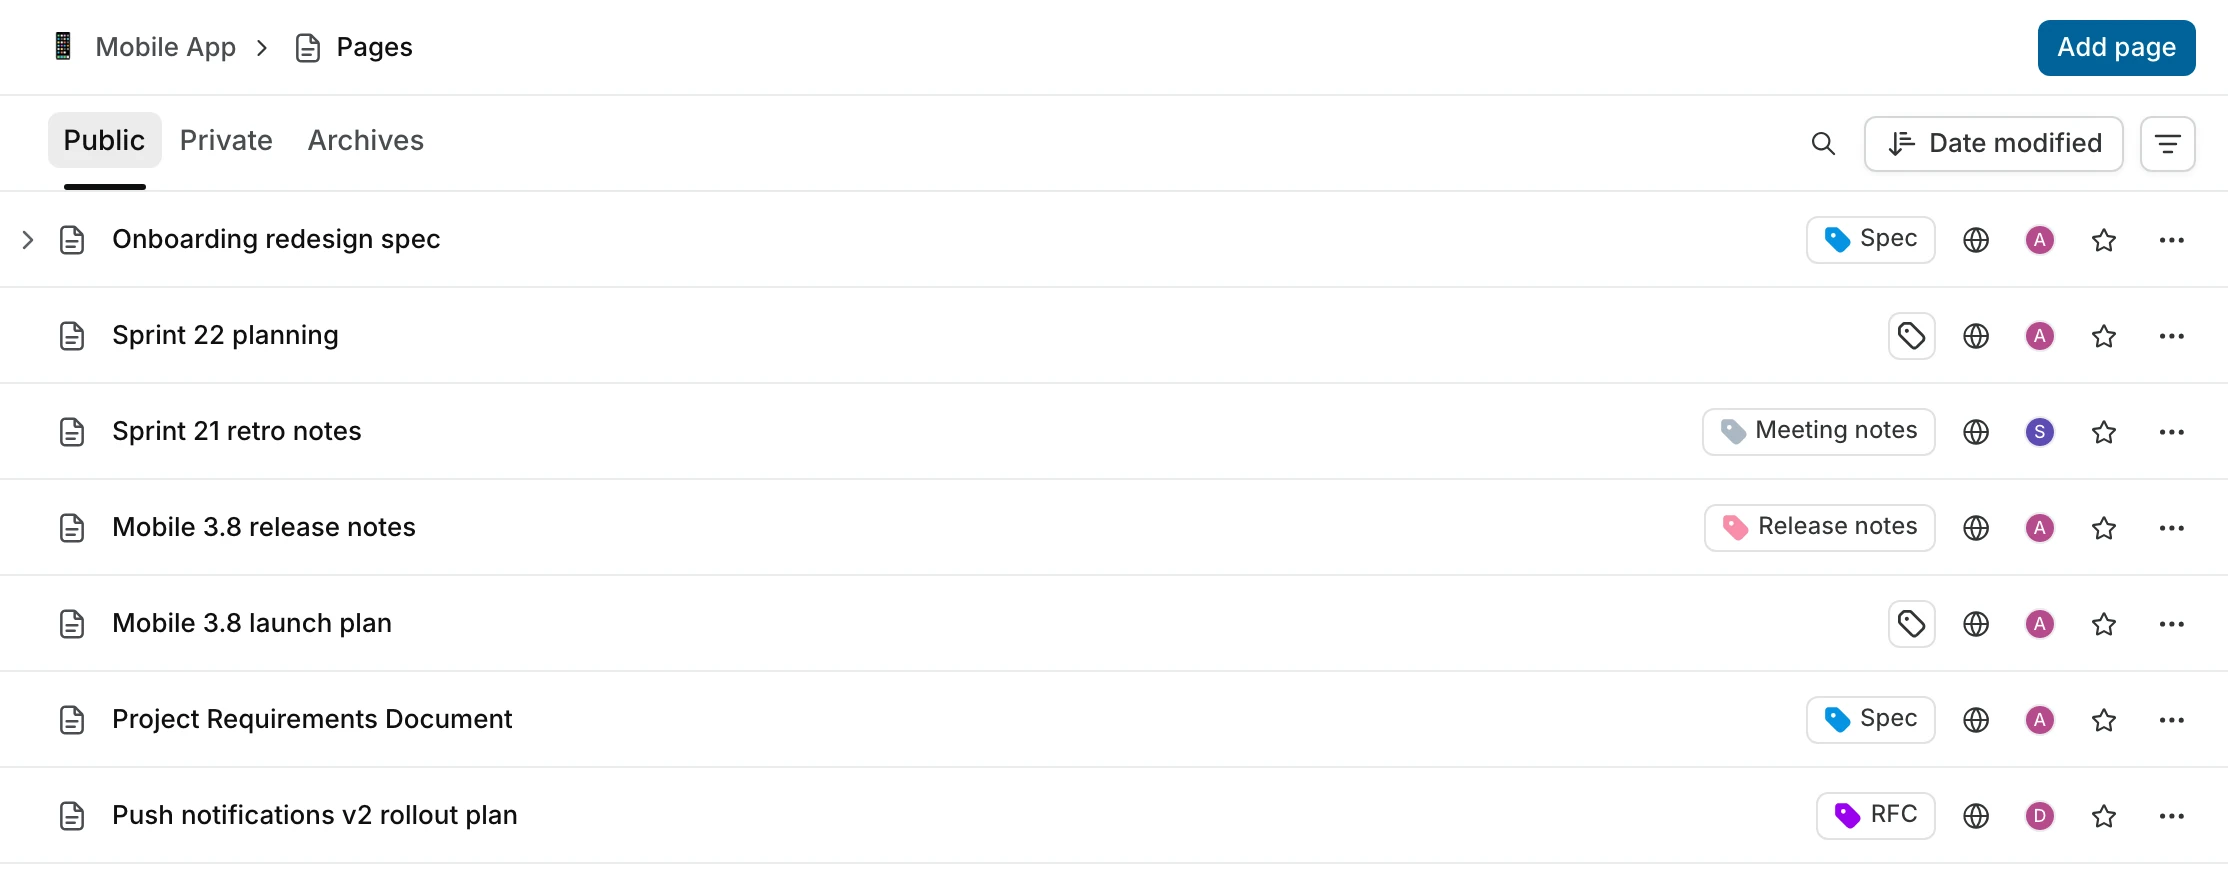
In your sidebar, click Pages under your project name.
Notice the three tabs: Public, Private, and Archived. By default, all pages you create are Public - meaning other project members can view and edit them.
Click Add page in the top-right corner. A new untitled page opens in the editor
Click the icon placeholder next to "Untitled" to choose an icon.
Click on "Untitled" and replace with
Project Requirements Document. The page automatically saves your changes.
Add content using editor blocks
Learn to structure your content with Plane's powerful block-based editor.
Use the slash command
Click in the content area below your title.
Type
/to open the blocks menu. Browse available content types.Try these essential blocks:
- Type
/h1then "Project Overview" for a main heading. - Type
/bulletto create a bulleted list of requirements. - Type
/todoto add checkable task items. - Type
/h2then "Timeline" for a subheading.
- Type
Format your content
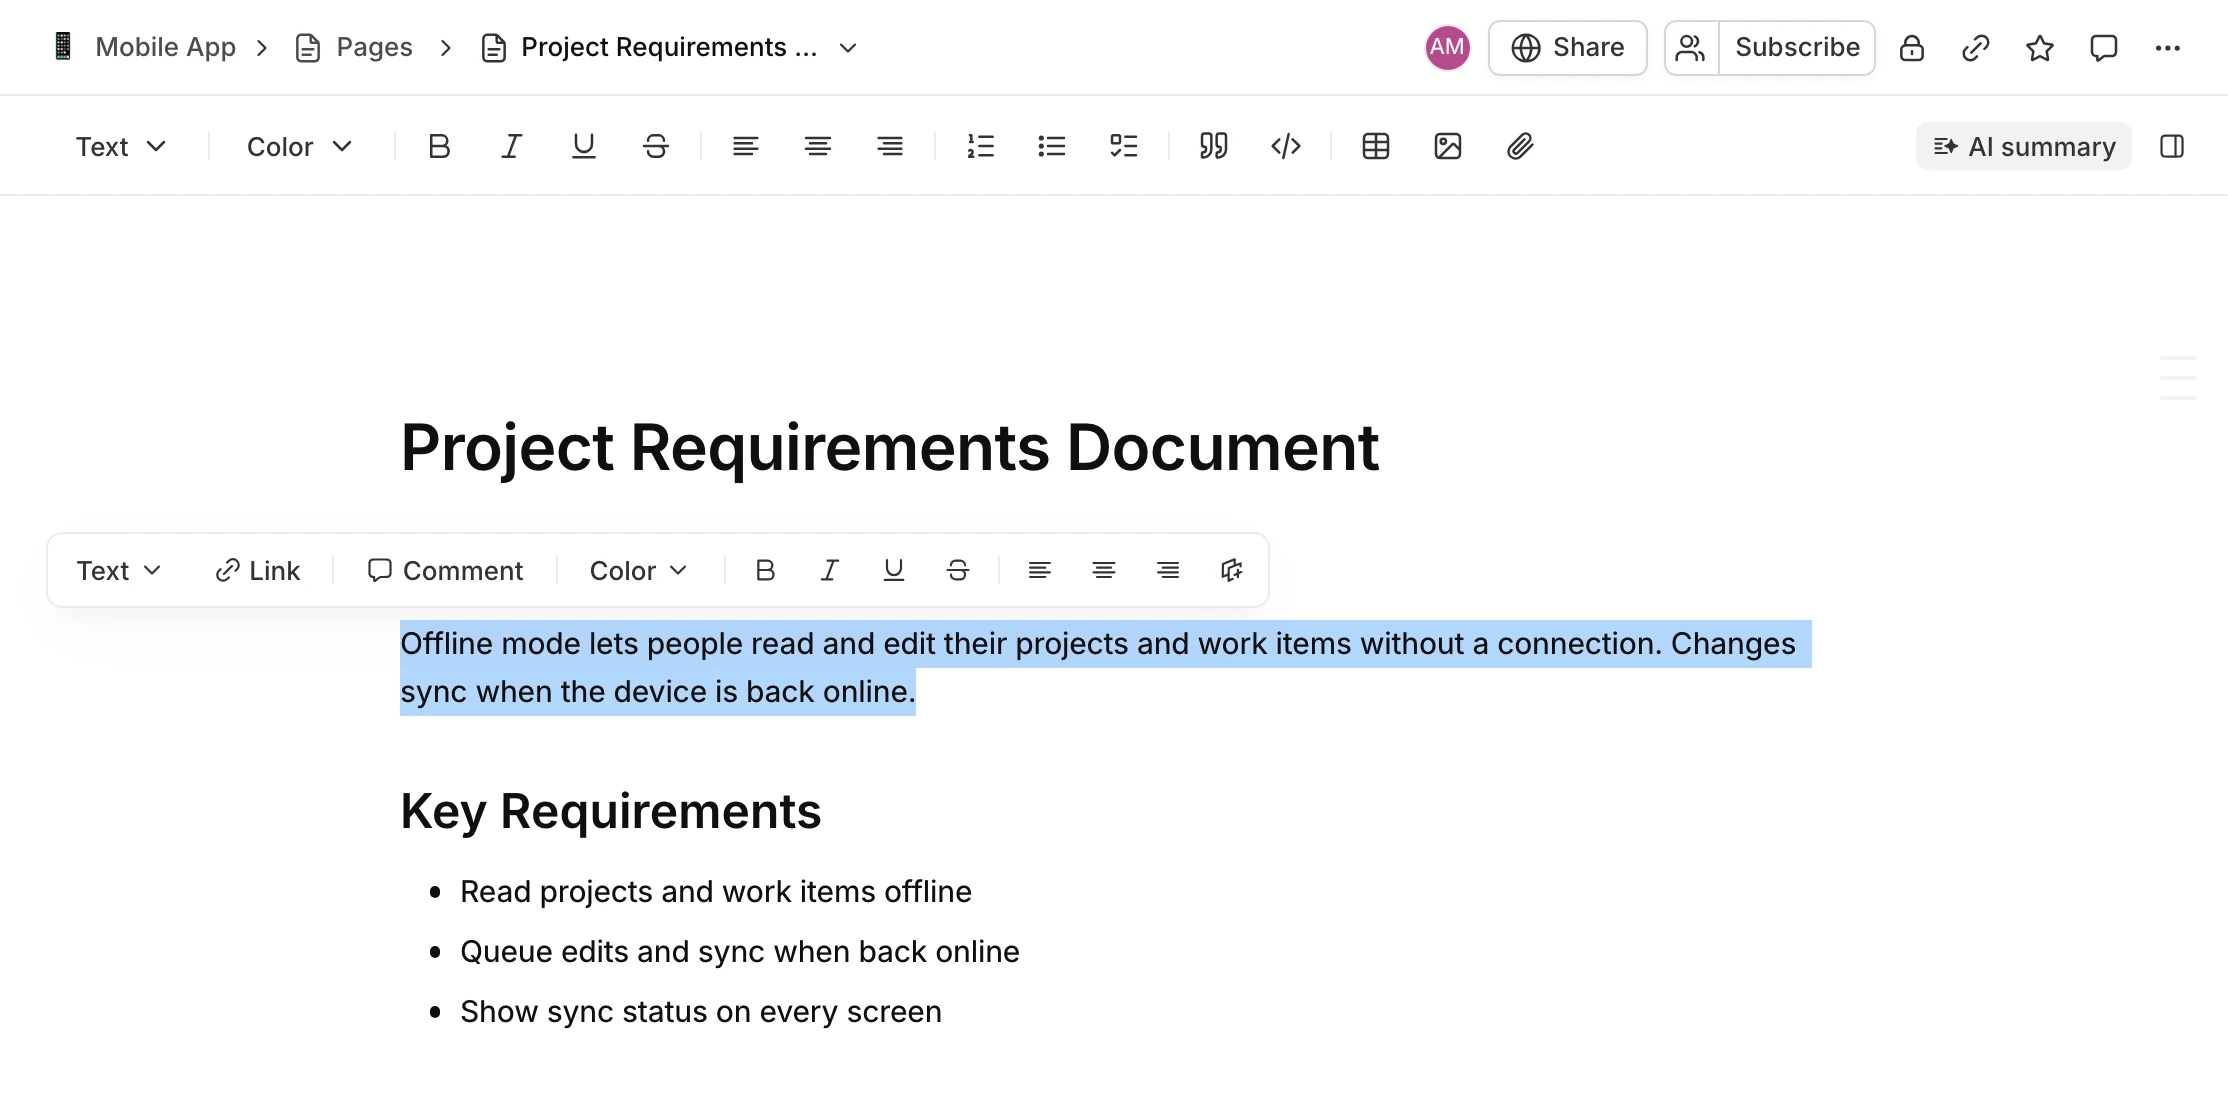
Select text to see formatting options or use the formatting toolbar at the top for all styling options.
Add links by selecting text and using the link option.
Create a complete document structure:
# Project Requirements Document

## Project Overview
Brief description of project goals and scope.

## Key Requirements
• Requirement 1
• Requirement 2
• Requirement 3

## Action Items
☐ Task 1
☐ Task 2
☐ Task 3
TIP
Explore all available editor blocks in our complete editor blocks reference guide.
Page options
Get shareable link
- Click the link icon in the top toolbar
- The page URL is copied to your clipboard
- Paste this link in Slack, email, or anywhere you want to share the page
- Anyone with project access can view the page using this link
Configure page options
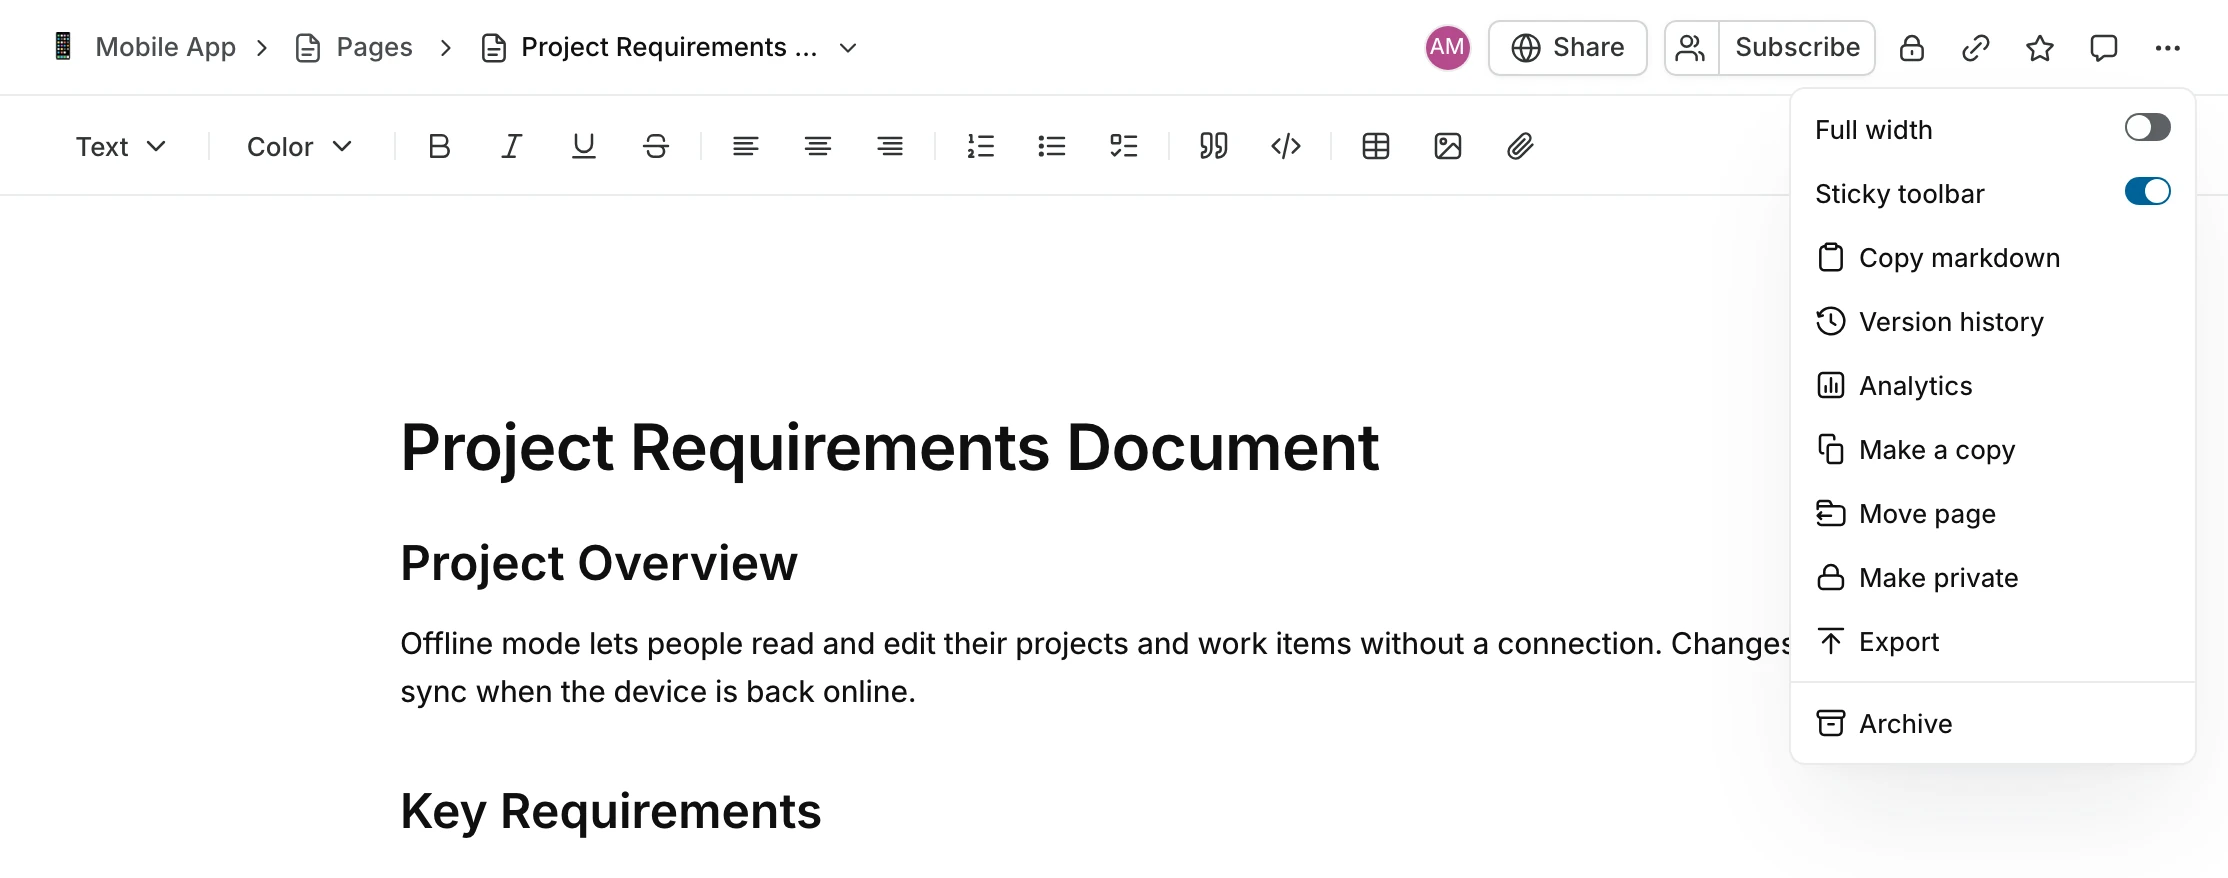
Click the three dots (...) on the top right corner of your page.
Review available configuration options. Key settings to know:
- Full width: Toggle on for wider content display (useful for tables and large content)
- Make private: Restrict page access to specific team members (advanced sharing options available)
- Make a copy: Duplicate page for templates or variations